HMS Victory Cross Section
My first model ship project is the 1:98 scale cross section of the HMS Victory 1805 by Corel models.
What follows are a series of images and notes as I work through the build. First observation is that the instructions are not clear and detailed, neither do they appear to have been updated since the model was first produced in the 1960s!
An extensive hunt round the web hasn't unearthed an electronic copy of the instructions, so I converted the typed and photocopied set that came with the kit into an electronic document. I then adjusted the layout to a series of instruction steps from the paragraphs it was in originaly. This made the process easier to follow, but did nothing to improve the tortuous 'legalise' English that was provided.
One point that is made in the instructions early on that bears repeating, particularly for first time modelers, is to read the instructions through several times - BEFORE - starting on the model! Another thing to note with this particular kit that I missed until it was too late is that some profiles are included in two fairly similar timbers. I am quite good at recognising different woods but hadn't noticed that the 3mm square profile was provided in both Beech and Box. This meant that in my model some sections that should be Beech are now Box and vice-versa.
But as I say, this is the first of these I have attempted and you live and learn! It would appear that according the purists this is not an exact scale rendition ofthe Victory as she was in 1805. I have therefore decided that I like the model in the natural wood colours, and haven't tried to recreate the black and gold colour scheme. The only timbers I have/will colour are the dowels for deck supports etc., the masts and spars and the stand.
| Images | Notes | Date | |
|---|---|---|---|
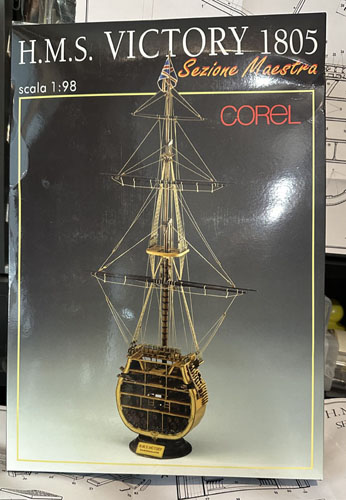 |
This is the kit I'm building and hopefully it will look somewhat like the picture when I have finished it! | 1/11/23 | |
 |
Forgot to start taking pictures at he begining of the build - oops! Main bearers in for deck E. | 2/11/23 | |
 |
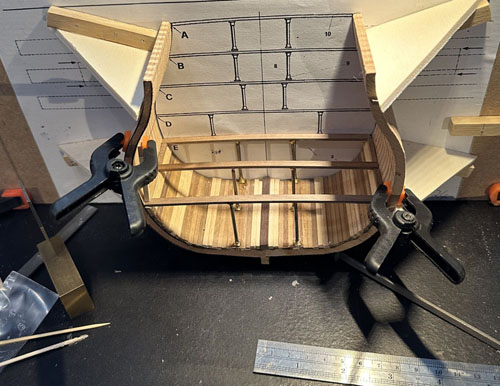
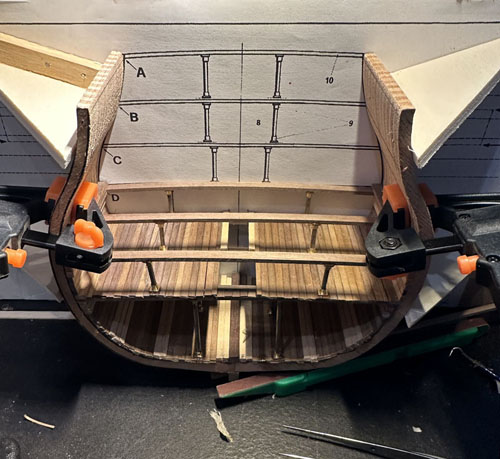
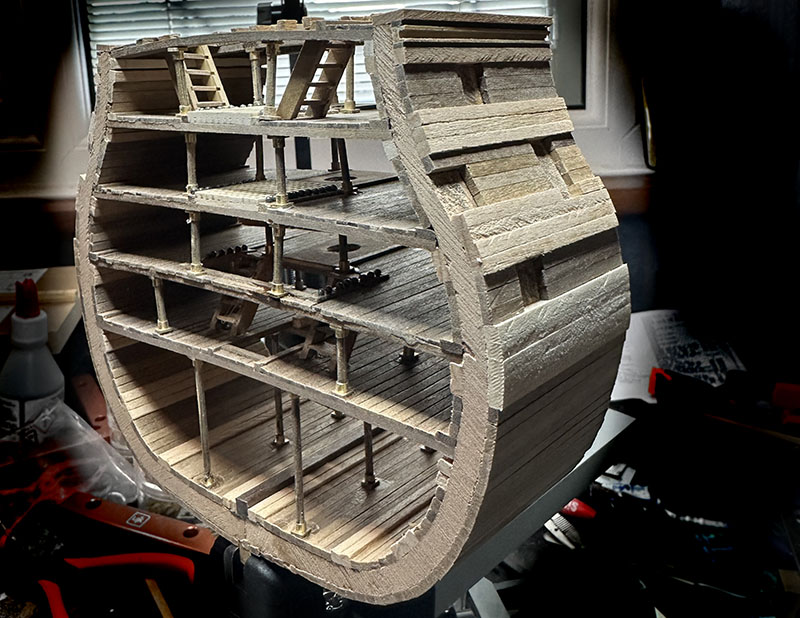
This image shows deck E completed. The model is attached to a build plank as suggested in the instructions and this is then supported vertically. | 3/11/23 | |
 |
In order to keep the curve on the decks until they were glued I held them in place by clamping struts to the backboard. I found the easiest way to keep all the deck supports the same height was to push the ends together using a small one handed clamp. This then compressed them all to the same height. |
3/11/23 | |
 |
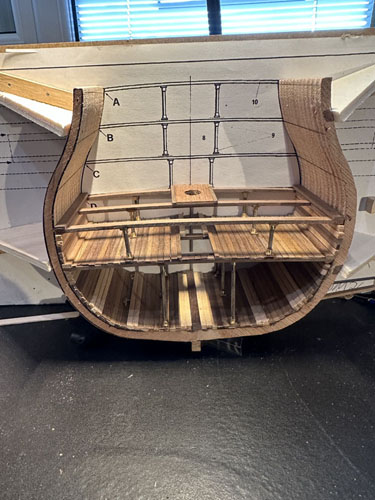
More of deck D under construction, the clamps are again holding the curvature of the deck while the glue dries. | 5/11/23 | |
 |
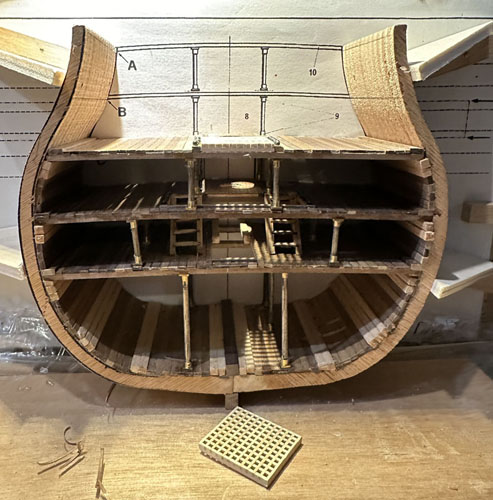
The mast support was positioned with the mast in place and a spirit level used to check it was upright. This process was repeated with each successive deck to ensure that it will be possible to insert the mast when required. | 8/11/23 | |
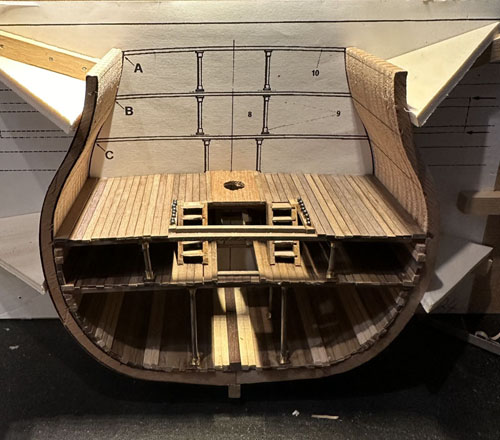 |
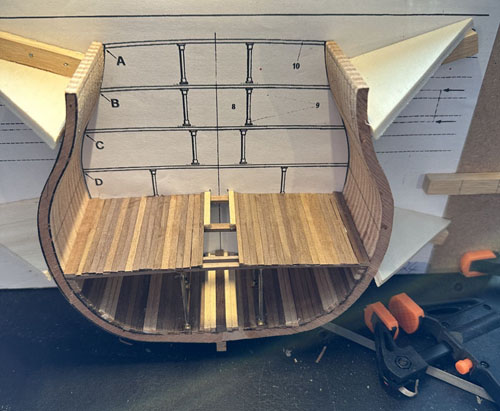
D deck complete, stairs and shot racks in place. | 12/11/23 | |
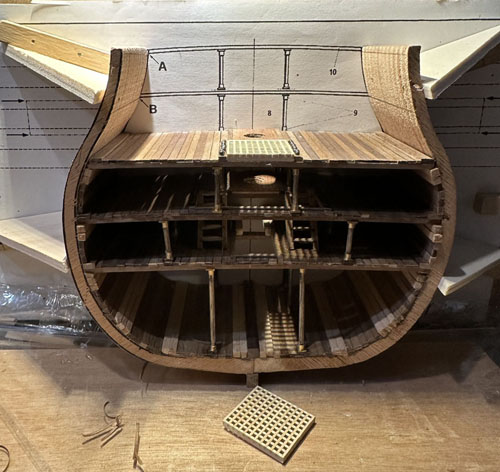 |
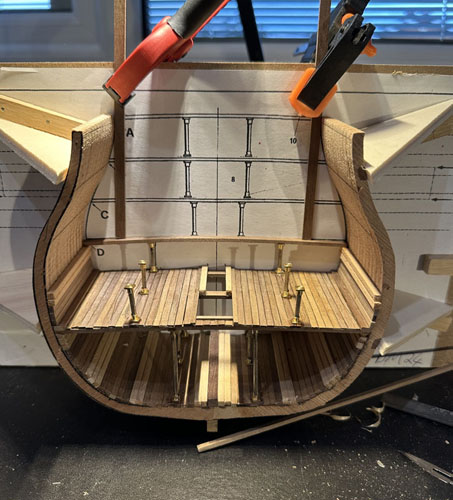
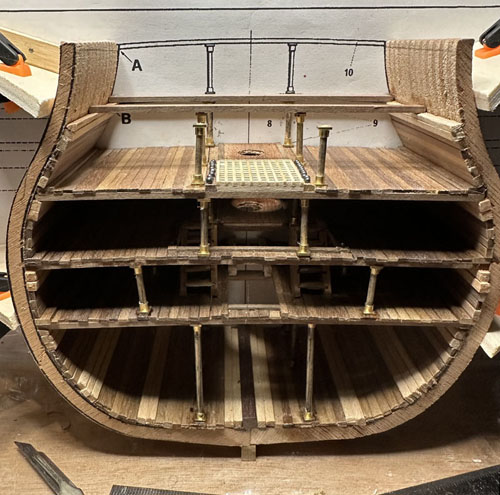
C deck complete, and the hatches made for this deck and B deck. | 28/11/23 | |
 |
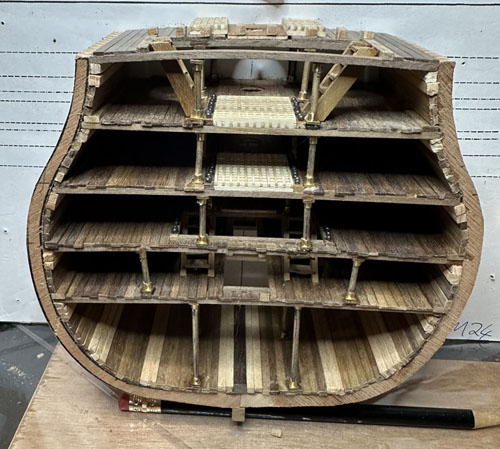
Slightly better anglefor the decks below C. Unfortunately highlights the planking gaps | 28/11/23 | |
 |
Starting on deck B, by this point I have forgotten that there should be filler pieces between the deck beams. | 3/12/23 | |
 |
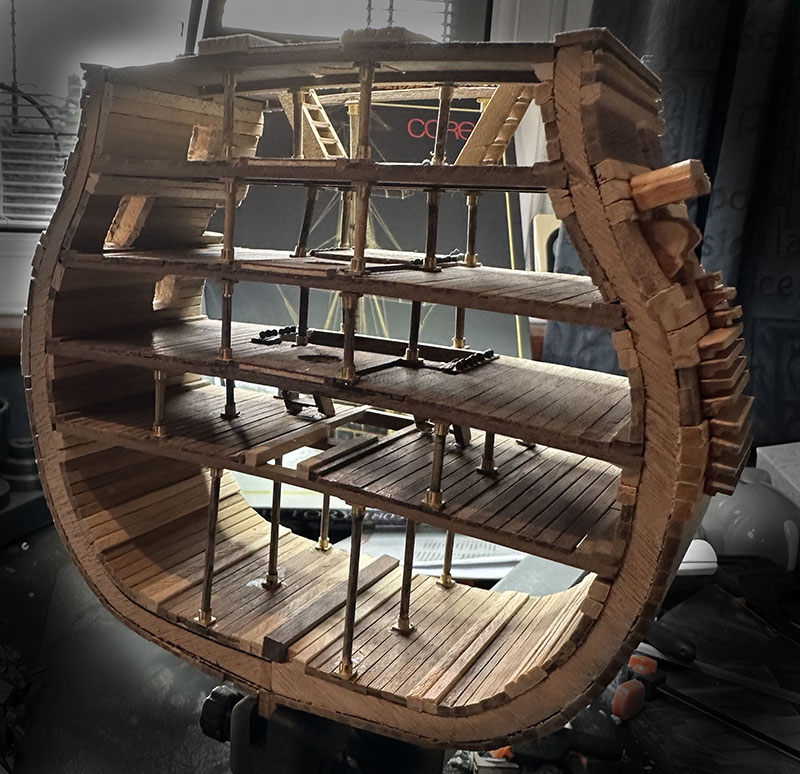
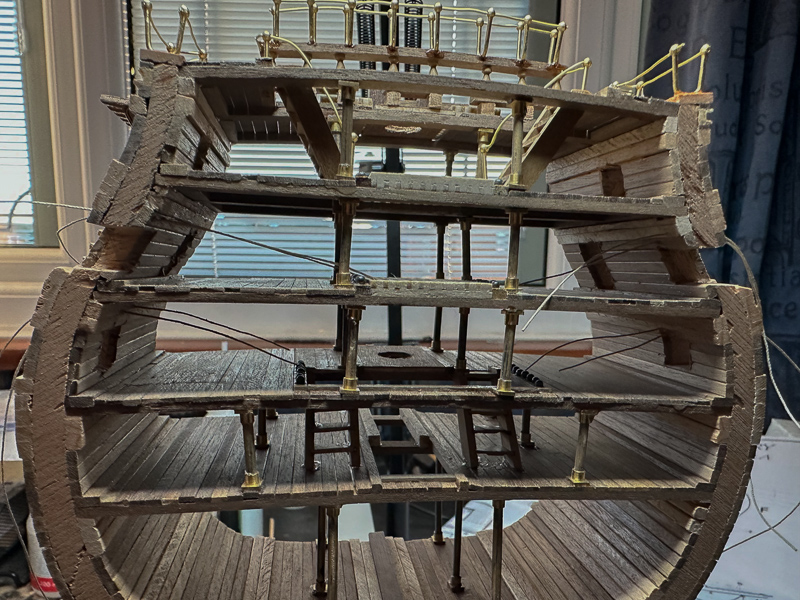
Seem to have skipped a couple of steps here, however, now complete to the top of deck A. The rest of the superstructure is not yet complete, as per the instructions. | 28/12/23 | |
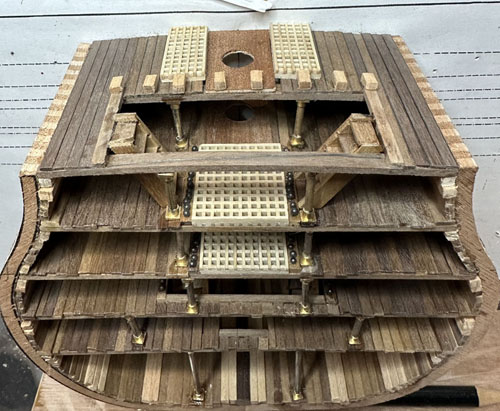 |
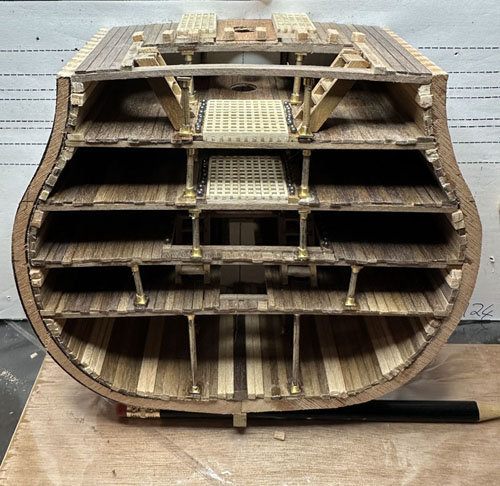
Slightly different view of the completed decks. at this point I haven't tidied up the edges - this makes a tremendous difference. | 28/12/23 | |
 |
Port side gun ports and doorway marked. Doorway position tweaked slightly to accomodate earlier errors. | 28/12/23 | |
 |
Starboard side gun ports and doorway marked. Doorway position tweaked slightly to accomodate earlier errors | 28/12/23 | |
 |
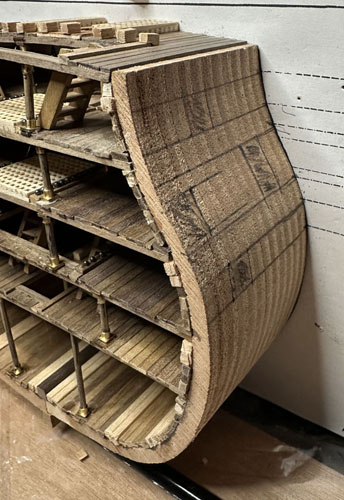
Last look before changing to a horizontal positioning and a start on the external planking. | 28/12/23 | |
 |
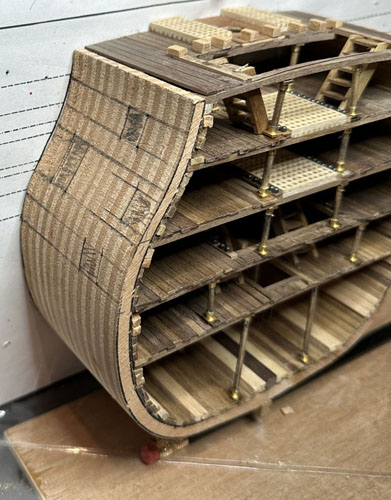
Lower section of external walnut planking in place. This is when I noticed the timber discrepancy.Lesson to self - check the timbers before starting. I had been using Box on the inside when I should have been using baox (Lime?). | 31/12/23 | |
 |
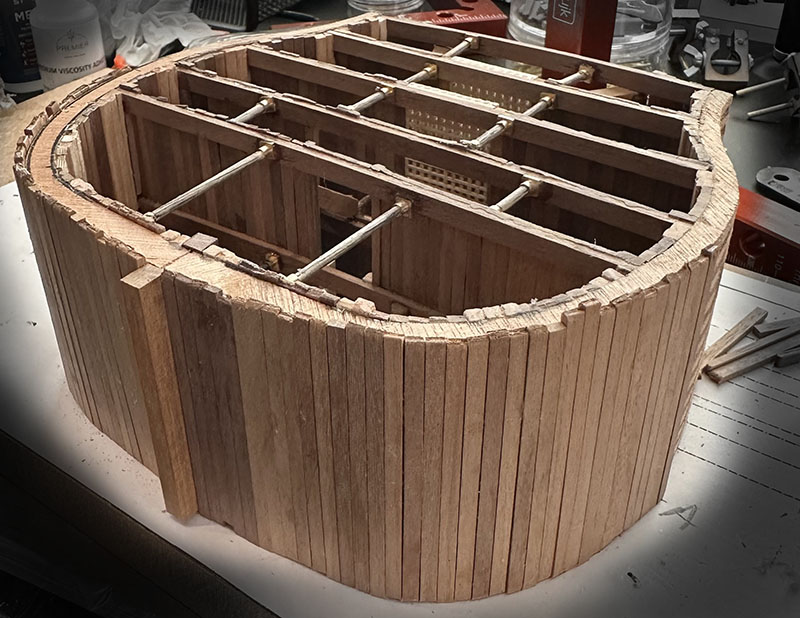
Ready for cut outs.This proved more difficult than it looked, and led to me putting in the filler pieces mentioned above. | 8/1/24 | |
 |
Starting to position the steps and door architraves. Despite aligning doors and cannon ports as per the plan, steps don't line up as shown on the plans. | 8/1/24 | |
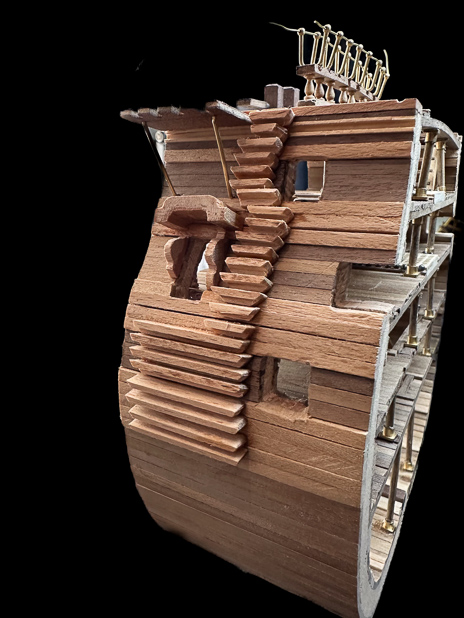 |
Cut outs done and steps in place. Not as tidy as I would have liked, but passable. | 15/1/24 | |
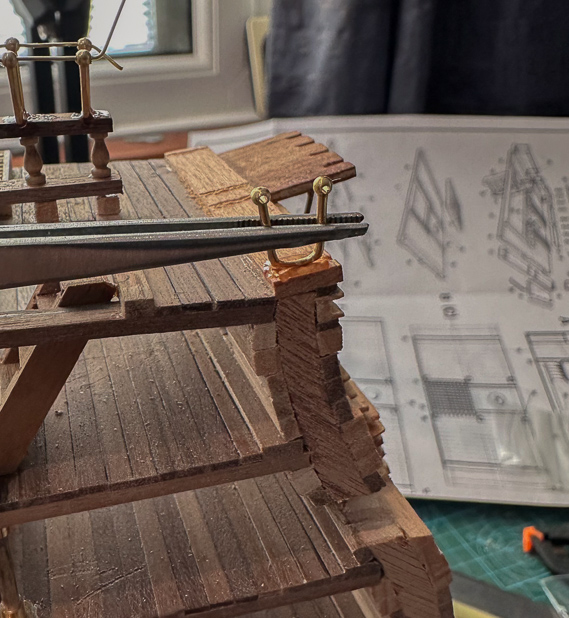 |
Gluing the double stanchions in place. Held in place using locking tweezers until the glue dries. | 18/1/24 | |
 |
Side rails in place, and ropes in place for the gun ports. Some tidying up of the railings still to do. Starting to look quite good though. | 18/1/24 | |
 |
Gun ports fitted and cannon placed. | 24/1/24 | |
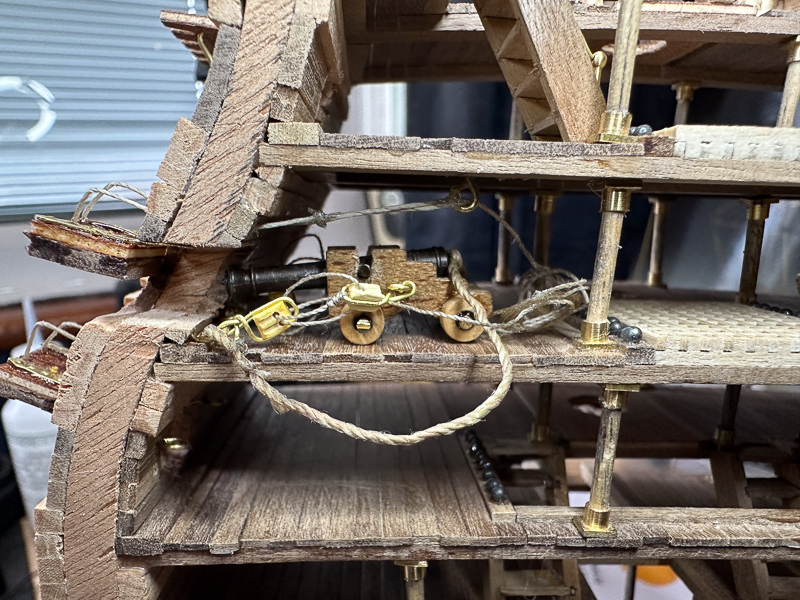 |
Rigging ropes for the first gun added, not happy with how they are lying. | 4/2/24 | |
 |
Cannon lashings sitting better. bought 3mm and 4mm pulley blocks as cutting down the larger blocks wasn't working.. | 5/2/24 | |
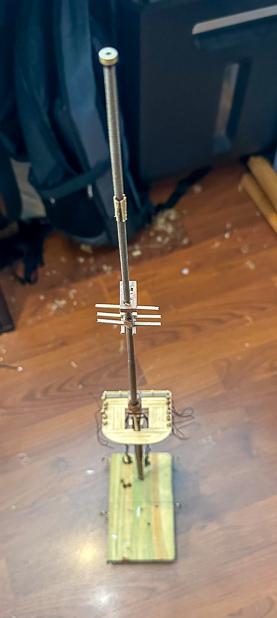 |
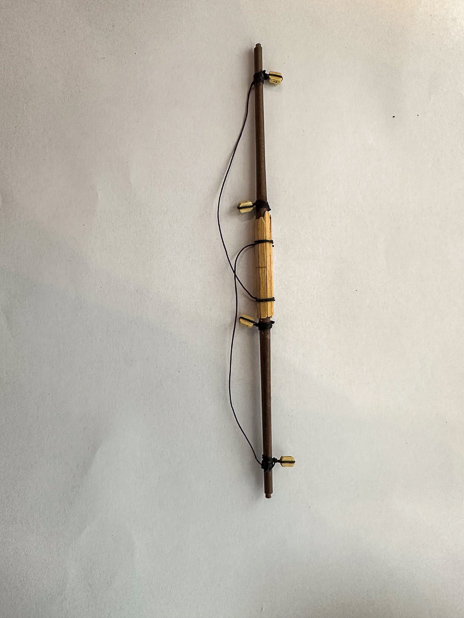
Mast assembled and glued. Custom block made to hold the mast whilst working on the mast pulleys etc. | 21/3/24 | |
 |
Topgallant yard completed, with footropes and pulleys added. | 25/3/24 | |
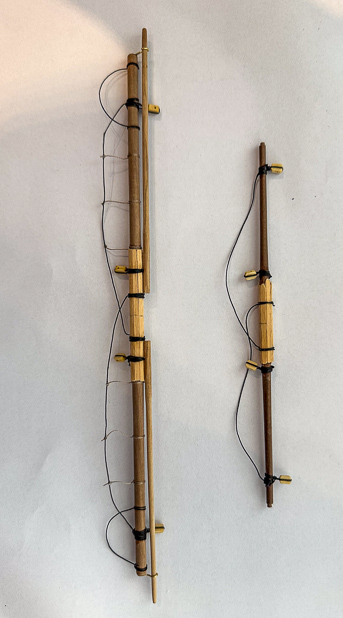 |
Topsail yard completed, stays added to the footropes. | 25/3/24 | |
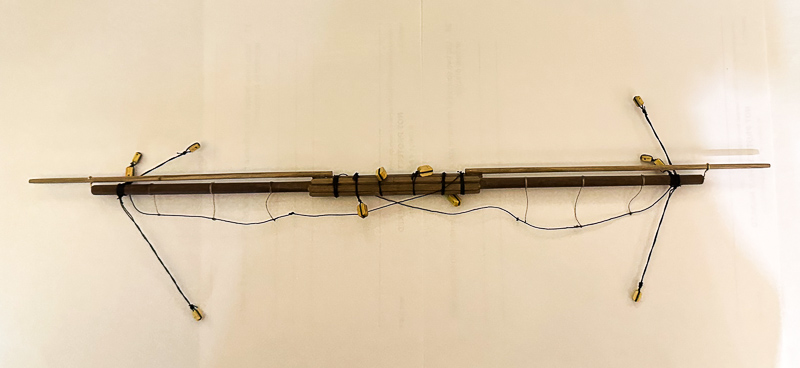 |
Main yard completed, stays added to the footropes and pulleys. | 29/3/24 | |
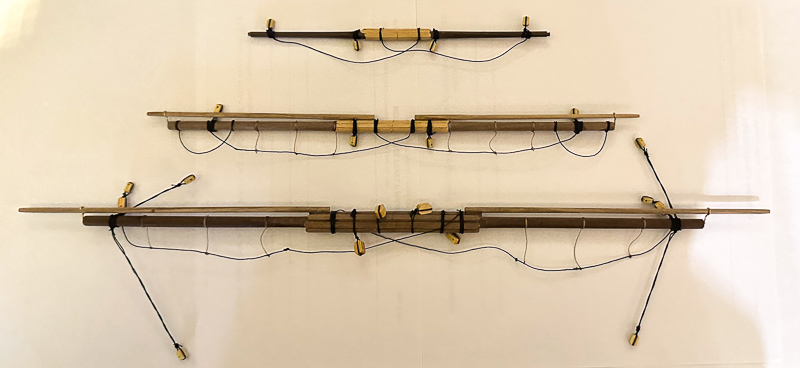 |
All yards completed. | 29/3/24 | |
 |
Starting on the ratlines. Glued each line at its start point first then went back and tied them across. | 5/4/24 | |
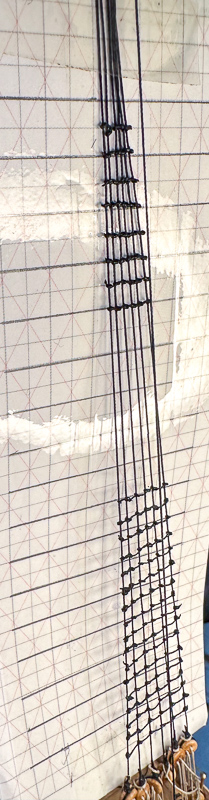 |
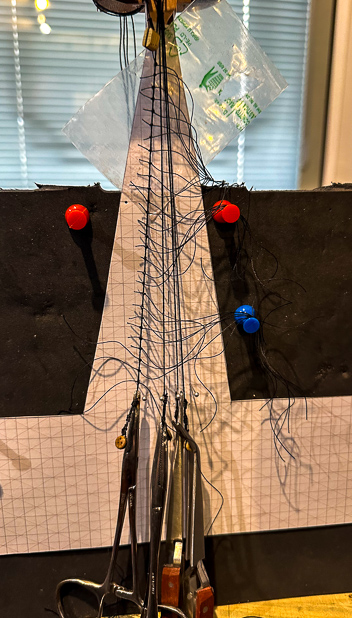
On the upper shrouds tied each line individually. Graph paper cut to size and covered with Sellotape gives a good reference for the lines and doesn't stick with superglue. | 26/5/24 | |
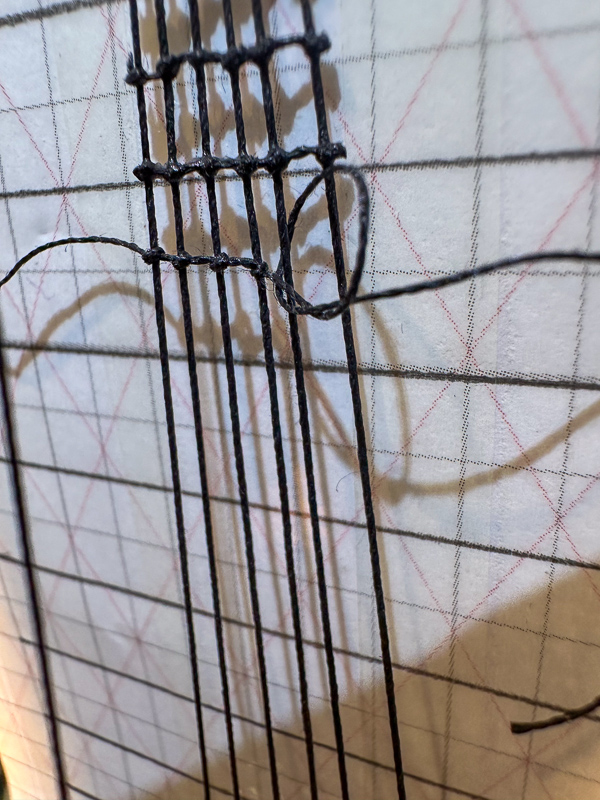 |
Detail on tying the ratlines, simple overhand knots are neat and give an even finish. | 26/5/24 | |
 |
In order to keep tension on the rigging I weighted the main yard . | 9/6/24 | |
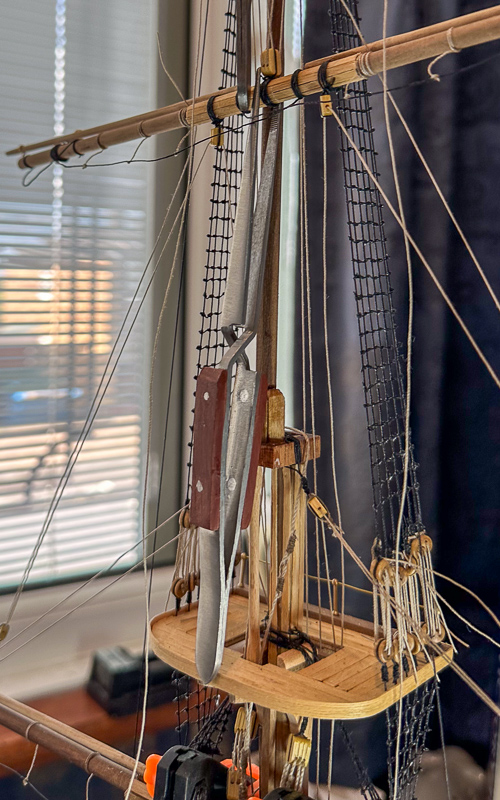 |
Other elements of the rigging were also held under tension. I used a variety of implements including: artery forceps, tweezers and clothes pegs. | 9/6/24 | |
| Finished!! | 14/07/24 | ||
| Some pictures of the finished model, apologies for the background, I'll do some more when I have time. | |||
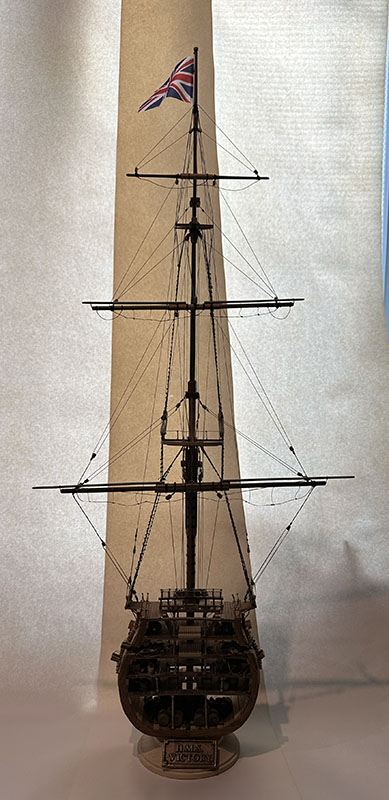 |
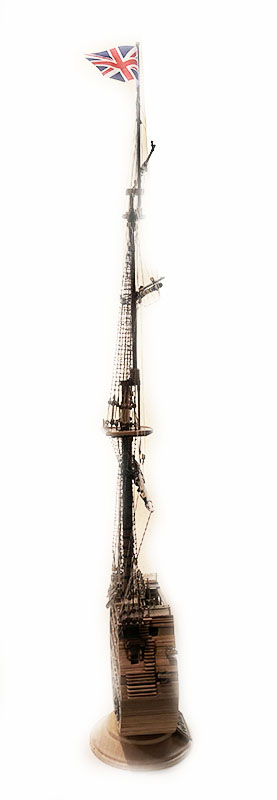
Full height showing all the rigging | 19/7/24 | |
 |
Detail of the topgallant and associated rigging | 19/7/24 | |
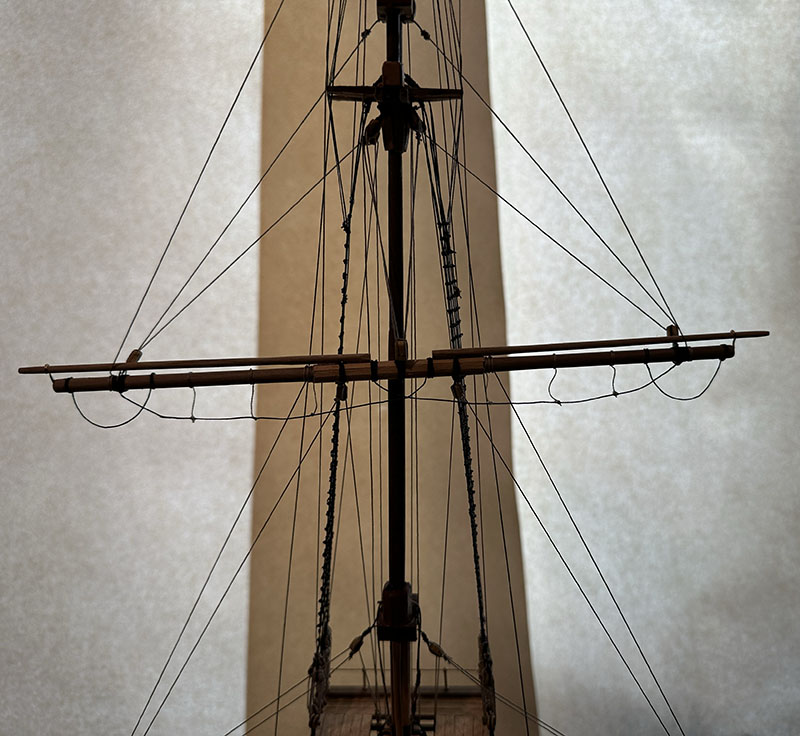 |
Detail showing the topsail yard, cross trees and lower mast top. | 19/7/24 | |
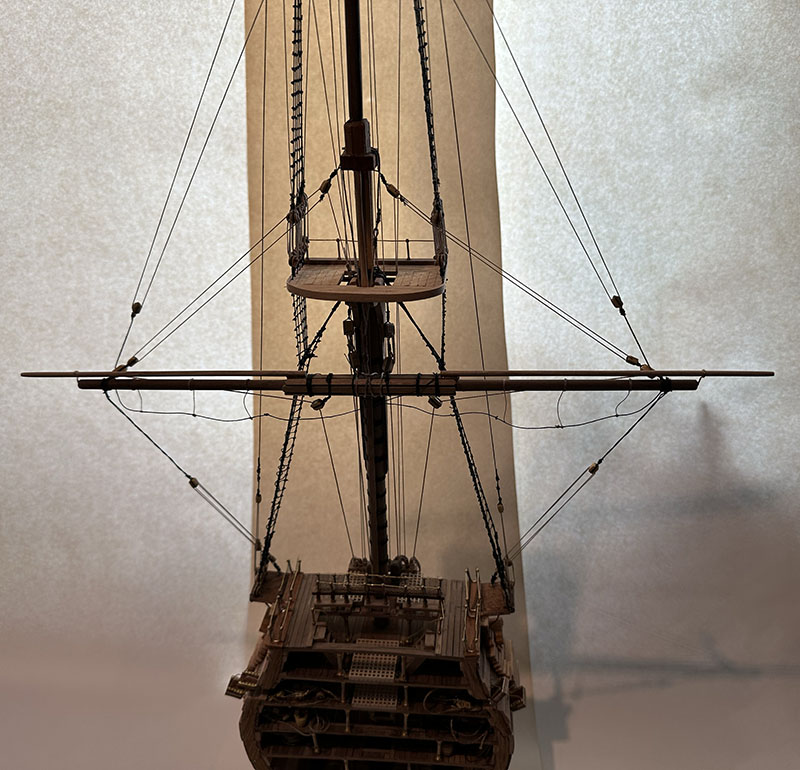 |
Detail of the lower mast top, showing most of the hull. | 19/7/24 | |
 |
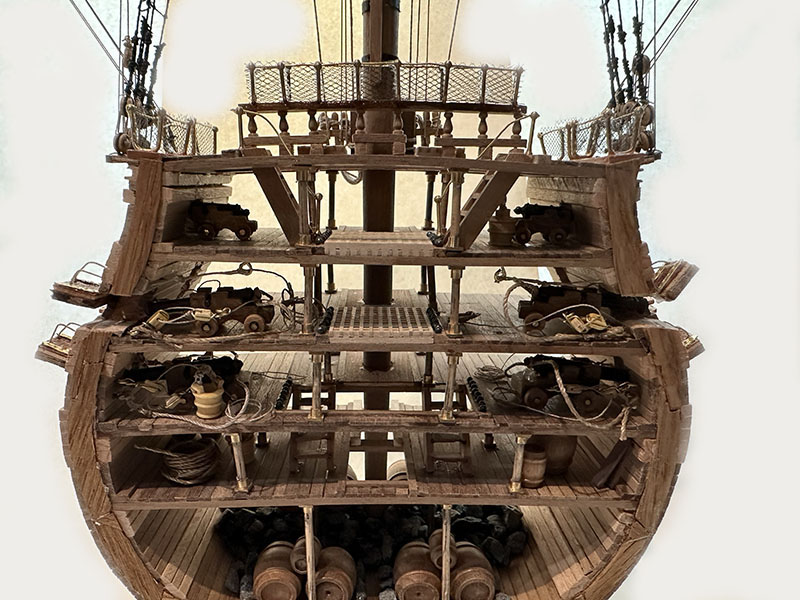
The hull showing up as far as the lower mast top. | 19/7/24 | |
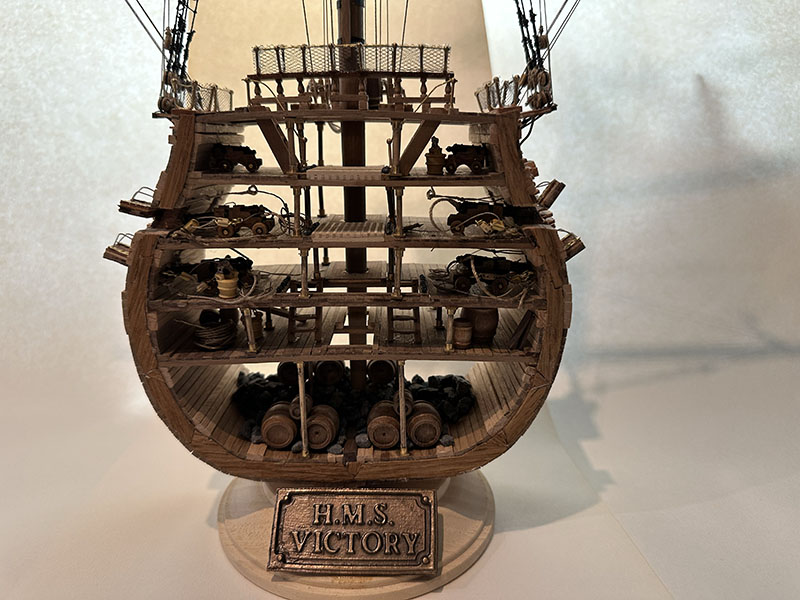 |
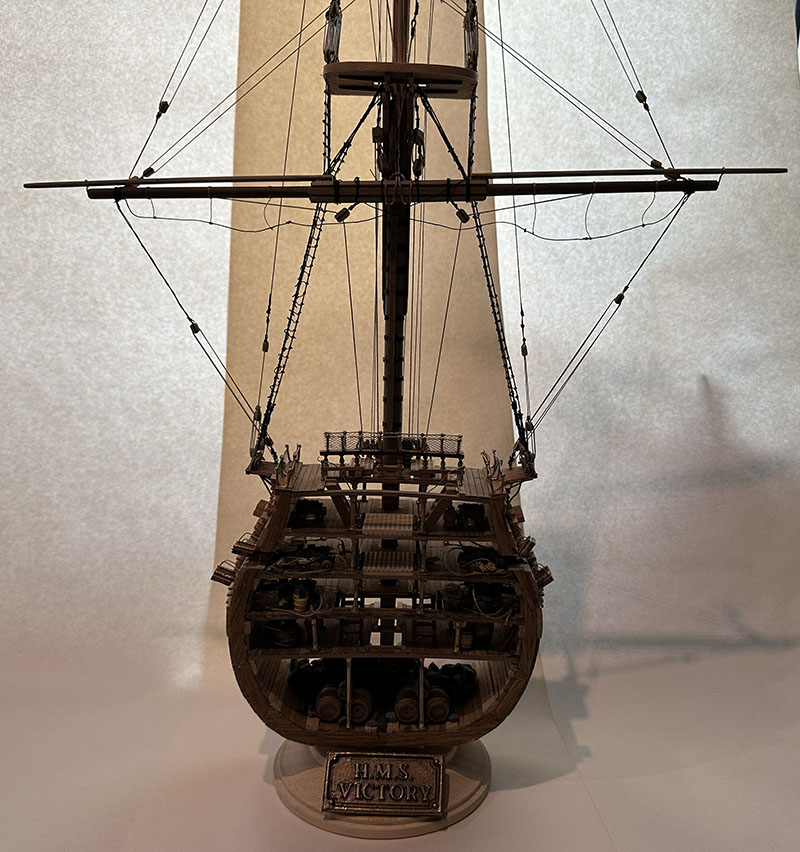
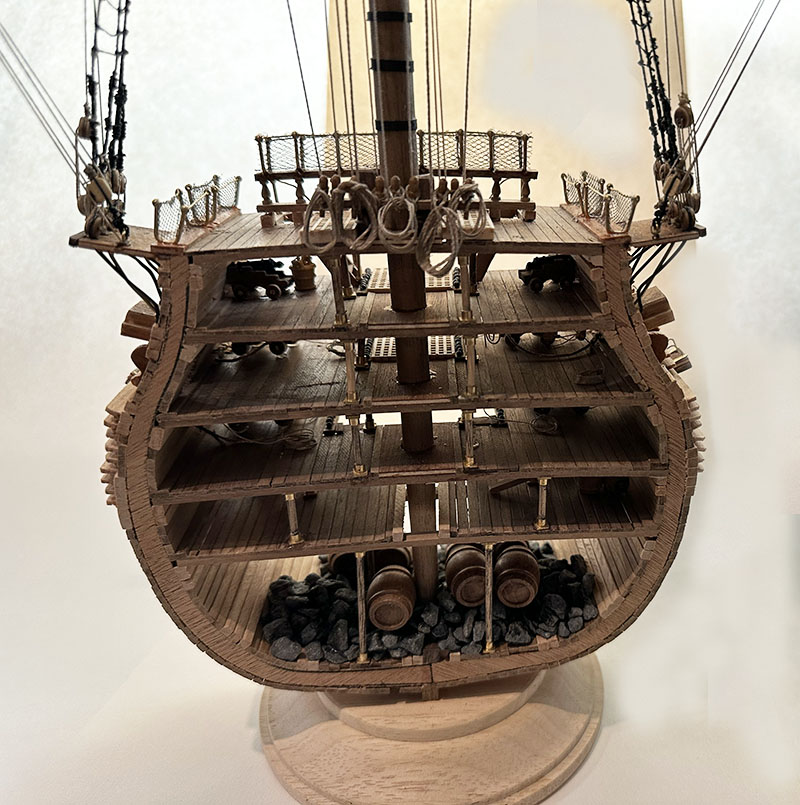
The finished hull with embellishments including barrels and buckets. | 19/7/24 | |
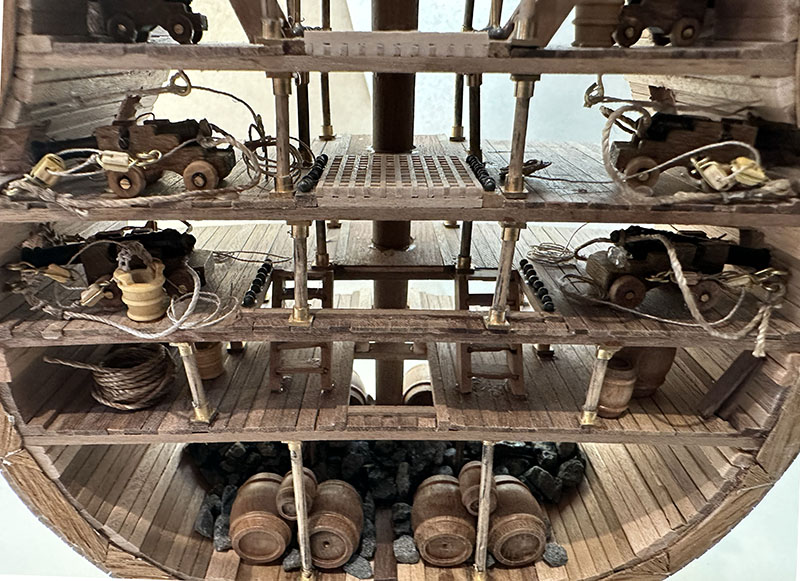
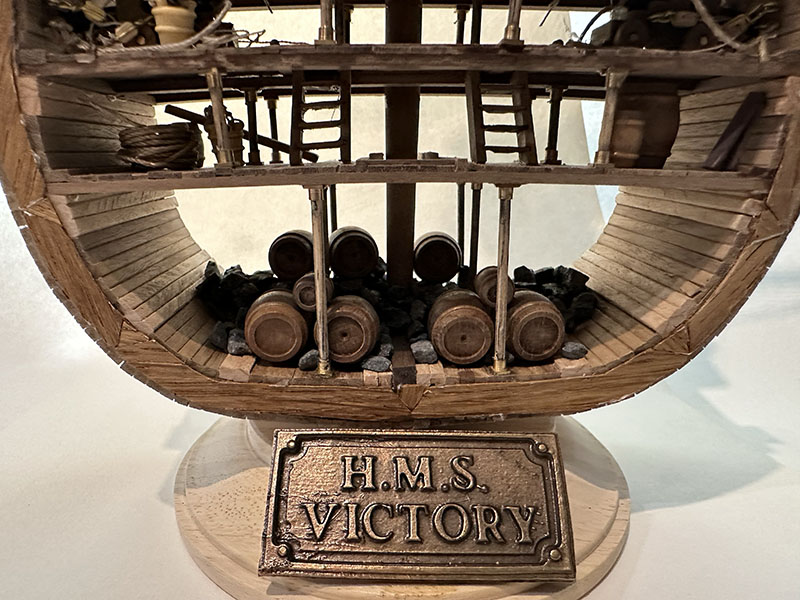 |
Lower hull, showing planks and rope coils etc. | 19/7/24 | |
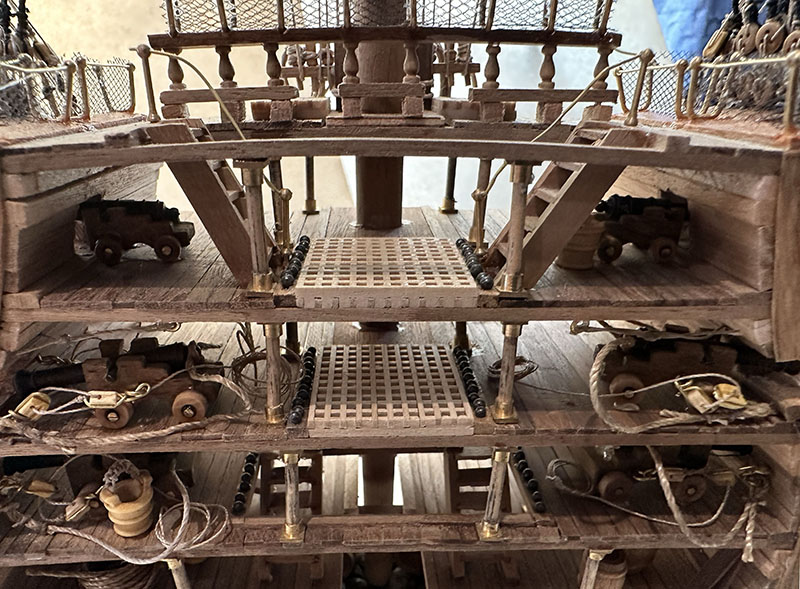
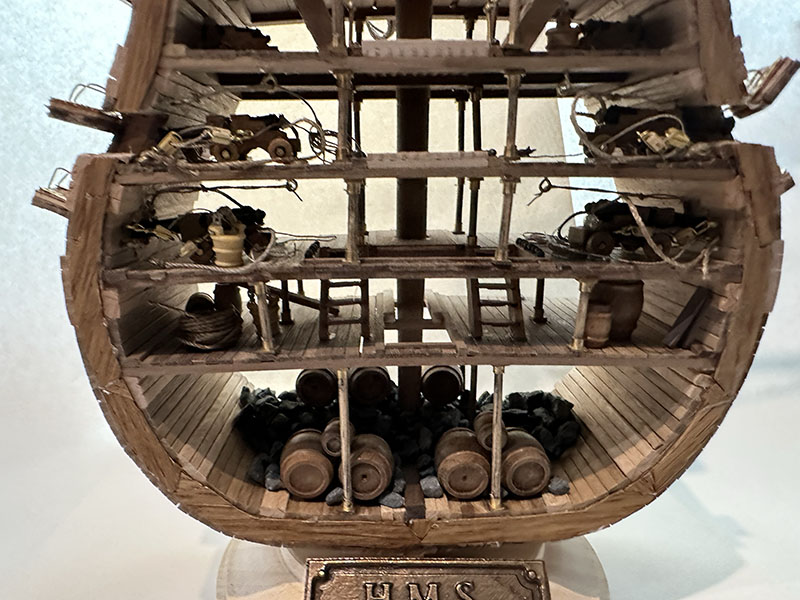 |
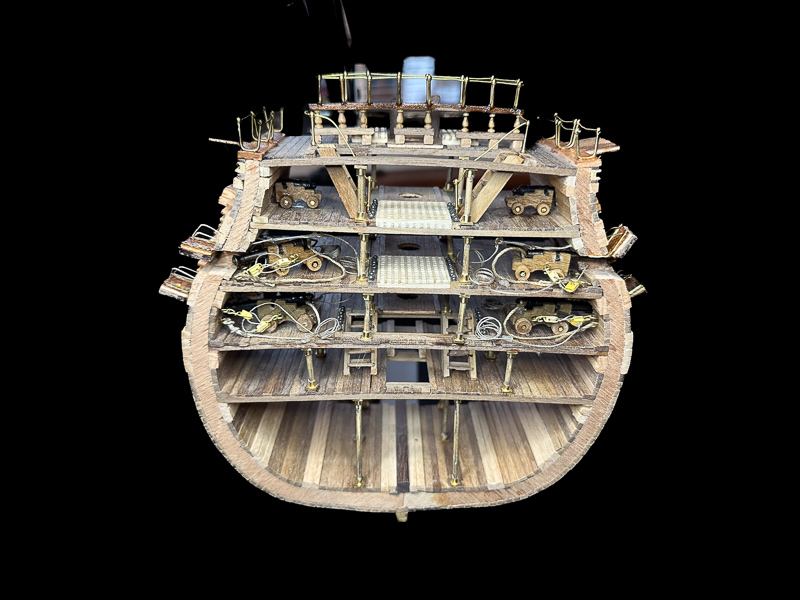
All lower decks. | 19/7/24 | |
 |
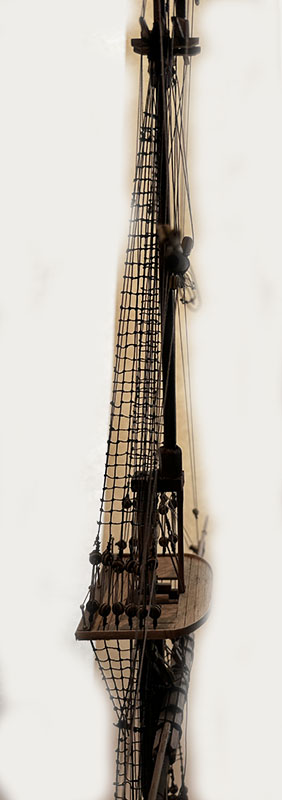
Detail of gangway netting. | 19/7/24 | |
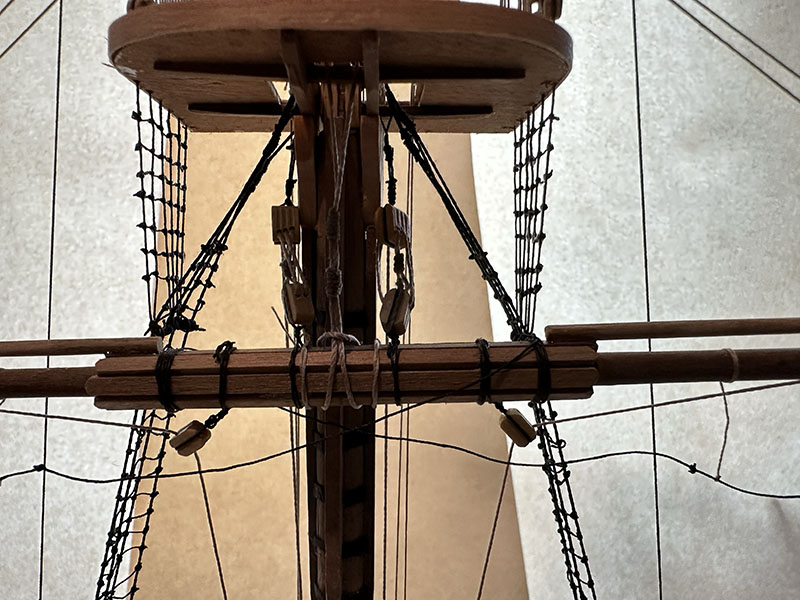 |
Rigging detail below the Lower mast top, showing ratlines and main yard rigging. | 19/7/24 | |
 |
Ratlines and rigging looking down from the cross trees to the lower mast top. | 19/7/24 | |
 |
Side view of completed model. | 19/7/24 | |
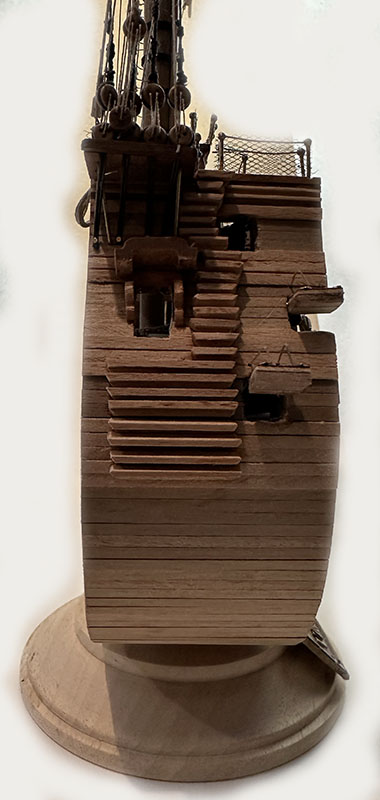 |
Side view of completed hull. | 19/7/24 | |
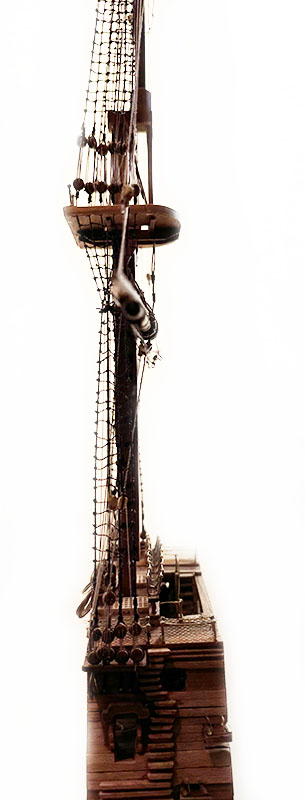 |
side view of hull and mast to lower mast top. | 19/7/24 | |
 |
Side view of ratlines and rigging betweenn the lower mast top and the cross trees | 19/7/24 | |
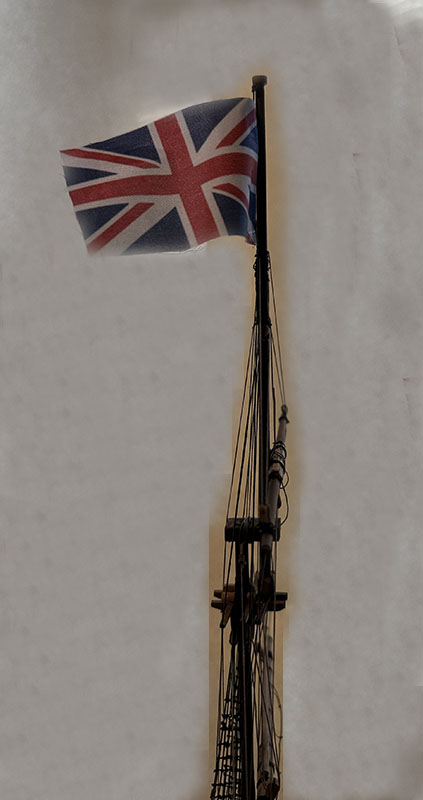 |
Rigging and flag from the cross trees up ward. | 19/7/24 | |
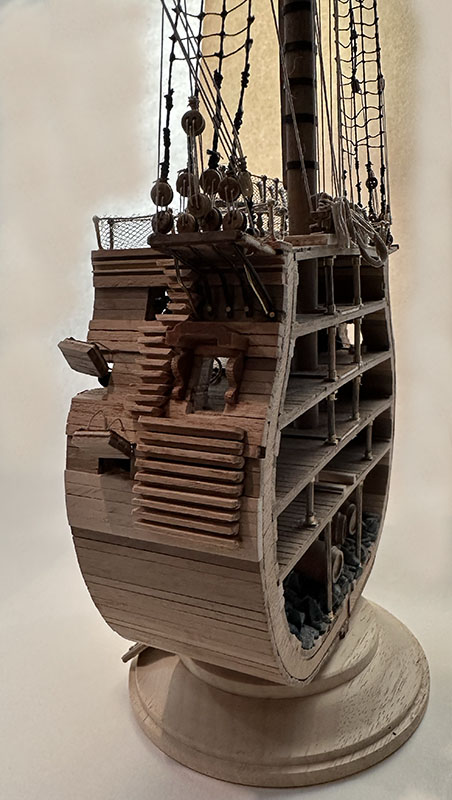 |
Three quarter rear view of the hull. | 19/7/24 | |
 |
Rear view of the hull. | 19/7/24 | |
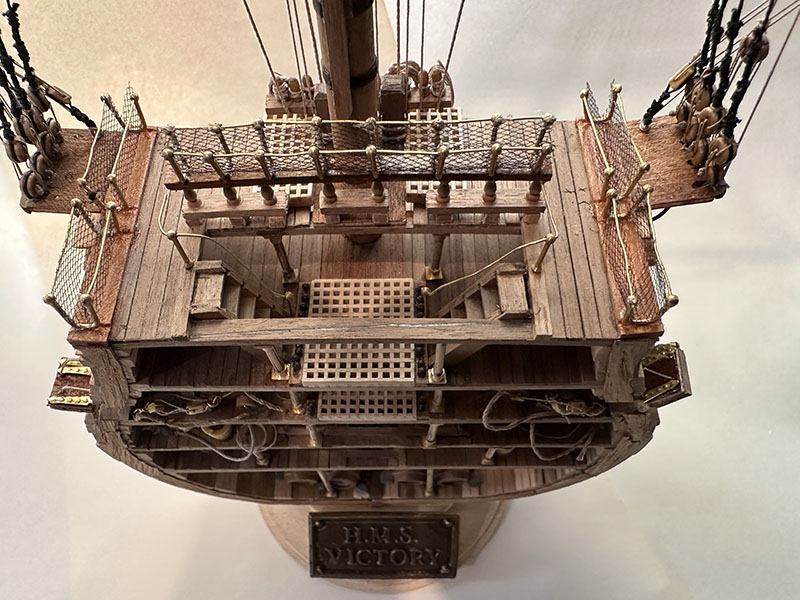 |
Top view of the hull. | 19/7/24 | |
 |
Hull detail of the upper decks. | 19/7/24 | |
 |
Upper deck details, from behind. | 19/7/24 | |